Assignement Part 01
CamiTK Developers Use Cases
Objectifs
- CamiTK-imp is a medical image analysis and modeling software developed by the laboratory TIMC-IMAG.
- It is a part of a larger framwork called CamiTK (Computer assisted medical interventions Tool Kit) designed to ease the collaborative work of a research team.
- It is thus modular and works with plugins, aka dynamic libraries. (.dll files on Windows, and .so files on Linux)
Exercices
Windows installation
To install the application Imp with a Windows system:
- Download the Imp executable for windows here
- Launch the executable on your computer to install the software
- To start Imp, find the CamiTKimp shortcut in your program bar.
Linux Ubuntu installation
To install the application Imp with a Linux (Ubuntu) system:
- Download the Imp Debian package here
- Launch the Debian package (.deb) of your choice on your computer to install the software
- To start Imp, find the CamiTKimp shortcut usr/local/CamiTK/bin/Imp
for the 1st part of the Tutorial, only the Windows installation has been tested. It is possible that in room E303, where you will be able to work on your project, an older version of CamiTK is installed. However the results will be the same. You should also be able to install the CamiTK 3.0.3 installer for windows on the E303 machines.
|
|
|
Figure 2.1. The IMP user interface
|
The Imp graphical interface contains:
- A title bar (containing the version number of the software, and the currently selected data (if any))
- A menu bar (File, Edit, View, Actions, Help)
- A panel called Explorer that hierarchically displays all the opened data objects.
- A panel called Property Editor that may contain some properties of the objects selected in the Explorer panel.
- A 2D/3D visualization window.
- A panel called "Action Viewer" where you can perform operations on the objects selected in the Explorer panel. If you do not see this viewer on the right hand side of the Imp Window, you can activate it by selecting "action viewer" in the "view" drop-down menu.
- A status bar with information and a progress bar
In the following, you will need to open and manipulate images.
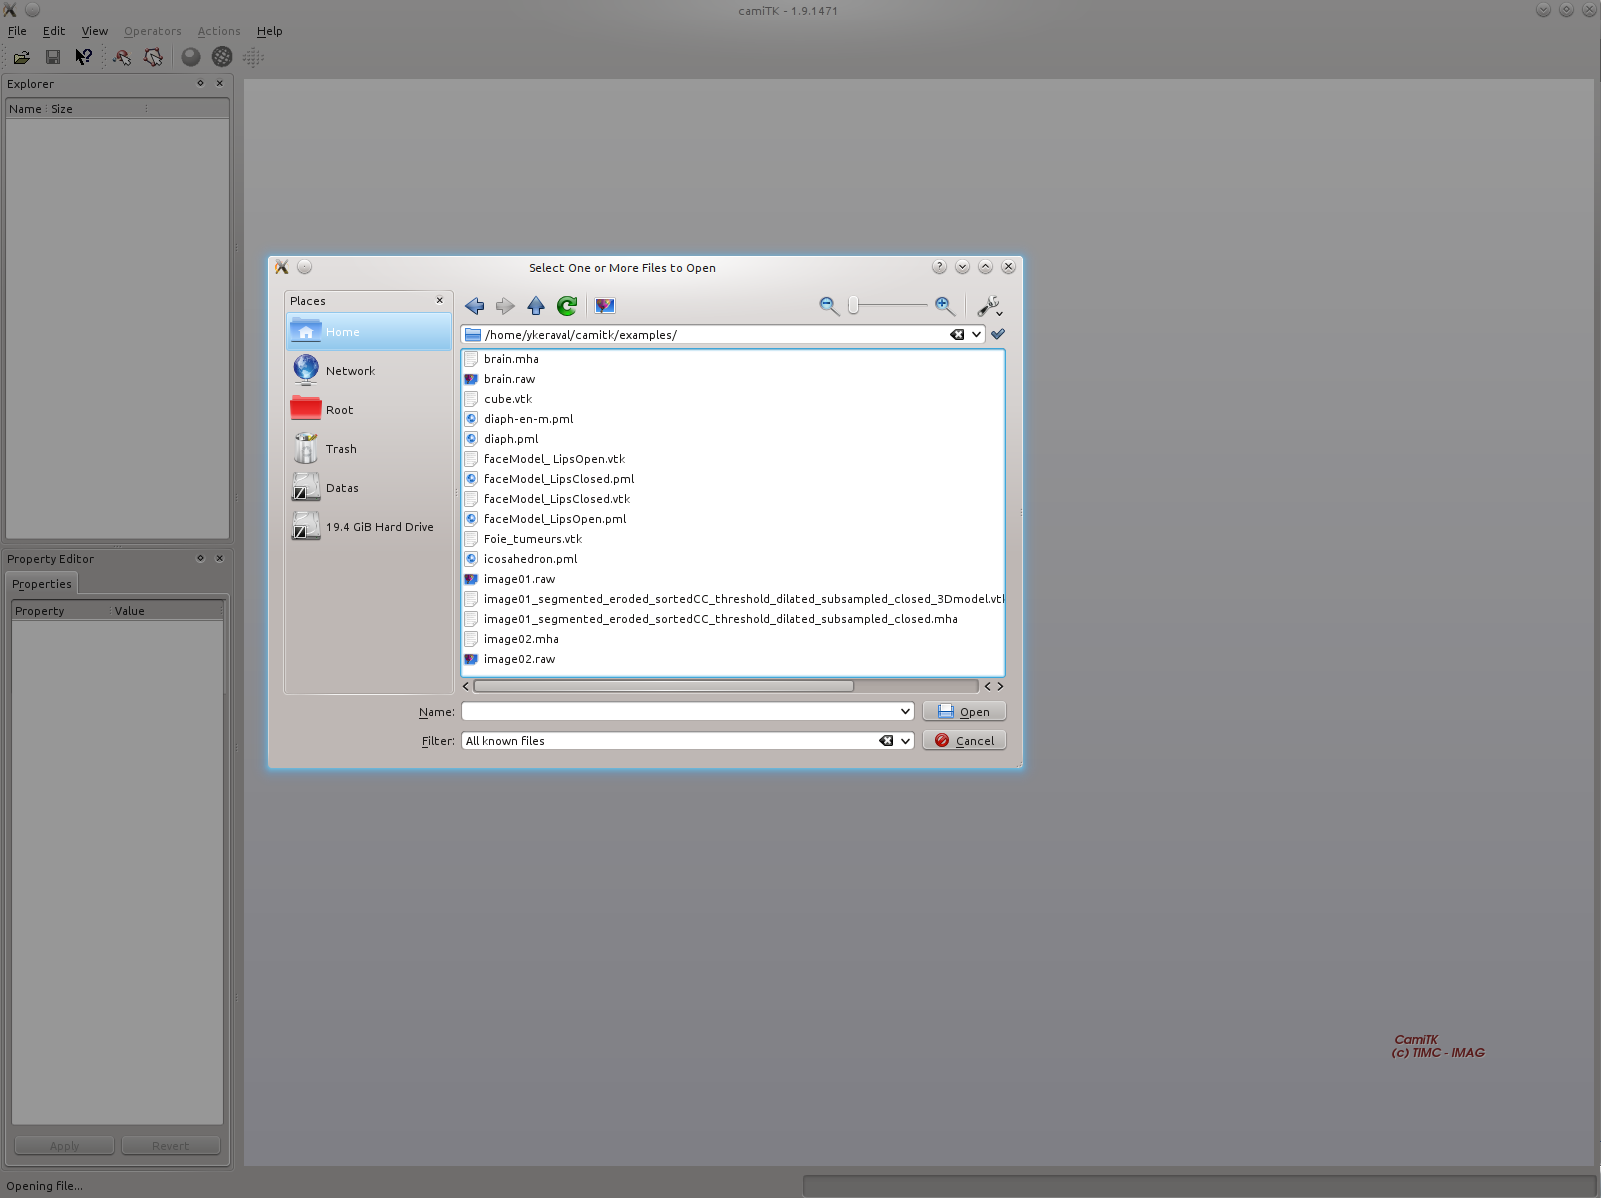
Opening image volumes
To open an image volume given in the Data directory,
- click on the menu File -> Open...,
- or click on the corresponding icon,
- or use the keyboard shortcut Ctrl + o.
You should see something similar to the screenshot below.
|
|
Figure 3.1. Opening a 3D image
|
Open image01.raw
To open this volume with Imp, you must fill in the following properties (the other fields should stay to default values):
- Dim X: 256
- Dim Y: 256
- Dim Z: 171
- Voxel Value Type: unsigned char
- Voxel Size X: 1.17188
- Voxel Size Y: 1.17188
- Voxel Size Z: 1.1686
Display modes
The visualization window is separated into 4 parts:
- A 3D view on the bottom right corner.
- An axial view on the top left hand corner.
- A sagittal view on the top right hand corner.
- A coronal view on the bottom left corner.

|
|
Figure 3.2. Body Planes
|
If you want to display only one window out of these four,
- click on the menu View -> Medical Image Viewer -> Visible viewers
- or use the keyboard shortcuts Ctrl + 0, Ctrl + 1, Ctrl + 2, Ctrl + 3, Ctrl + 4.

|
|
Figure 3.3. Image Processing Viewer
|
3D window
You can use the mouse to navigate:
- left button: rotation;
- wheel: zoom;
- wheel button: translation;
- right button: zoom.
2D viewers
You can use the mouse to navigate:
- wheel: zoom;
- wheel button: translation.
- crtl + left button: triangulation (move the triangulation point and refresh the other viewers).
you can use the viewer interface:
- slider (on the right of the slice): slicing;
- screencapture button (on the right of the slice, above the slider): allows to save a slice
All views are synchronized, thus the other views change according to the clicked voxel.
Note that when you change the displayed slice, it is updated in the 3D window if present.
To display a slice orientation in the 3D viewer, right click on the corresponding item in the Explorer panel and select Display Slice in 3D Viewer.
To save an image (after having applied a filter for example):
- select the image in the Explorer window and then click on File menu -> Save as...
- You then have to specify a directory and a file name.
To update image lookup table (lut), the application Imp must display the lut in the Action viewer.
To make it appear:
- Make the Action Viewer panel visible by selecting it in the View drop-down menu;
- Select the image in the Explorer window;
- Then, in the Action viewer, select the "ImageLut" item in the drop down menu "Family", and "Lut" in the drop down menu "Action".
The lookup table should appear. The different elements of the window are:
- The histogram which represents the contrast enhancement of the image,
- the parameters used to update the lookup table,
The Reset button is used to (re)init the lookup table
The histogram parameters are:
- Window Width
- Window Level
- Greyscale -> RGB map
- Transparency management
- Lookup table inversion
- ...

|
|
Figure 5.1. Image Processing Viewer
|
To apply image filter, the application Imp must display the ITK Image Filters explorer.
To make it appear:
- Click left on the image name in the Explorer window and then click in "ITK Filter", and choose a filter.
- Or, select an image, and in the Action Viewer, select "ITK filter" in the "Family" drop-down menu,and choose a filter
- Give the filter parameters;
Remark: Depending on the filter you select, there might be no parameters. - Click on Apply.
The process can take from some seconds to several minutes. You can follow its progress with the progress bar.
A new filtered image will be created and will appear in the explorer panel.

|
|
Figure 6.1. Image Processing Viewer
|